
Chimney problems are hard to judge from the ground, and climbing up for a closer look is not something we recommend. A clear explanation is the safer first step. This page covers what people in West Vancouver usually want to know after a search for “chimney restoration”: what tends to go wrong, what a repair visit involves, what affects the price and how to tell a careful company from a hasty one. It is written to help you understand chimney masonry restoration, not to push you into it.

In everyday use, tuckpointing means the same as repointing: replacing failing mortar joints, one of the most common chimney jobs we do. Mortar is meant to be the sacrificial part of a brick wall: it is softer than the brick and wears first, which is exactly what you want. After enough seasons of rain, sun and temperature swings, joints shrink, crack and wash out. Tuckpointing removes that worn material and replaces it with mortar matched to the original in strength and color. Done properly, it restores a weathertight surface without disturbing sound bricks, so the chimney keeps its original look.
A masonry chimney has more parts than most people realize, and each one can need repair on its own. From the top down, you will usually find:
Inside the house sit the damper, the smoke chamber, the firebox and sometimes an ash dump. Factory-built chimneys swap the brick for a metal flue inside a framed chase with a metal cover on top.
Stains, debris and stiff moving parts inside the house are usually the first signs, long before anything looks wrong from the yard. A water mark on the ceiling beside the chimney, a musty smell when it rains, flakes of tile or mortar in the firebox and a damper that has gone stiff all point to something above. Outside, white chalky deposits on brick tell us water is moving through the masonry, and dark streaks below the cap or chase cover suggest rust. Smoke that hangs at the fireplace opening points to a draft problem. We trace each clue back to its source before suggesting any repair.
A leaking chimney almost always has one of a few causes: a missing or damaged cap, a cracked crown, failed flashing where the chimney meets the roof, or porous bricks and mortar soaking up rain. On factory-built chimneys, a rusted or flat chase cover is a frequent culprit. Water may show up far from where it enters, running along the flue or the framing before it appears as a stain. Note when the leak happens, whether in every rain or only when wind blows from one direction, and where you see it. Those details help narrow down the source quickly.
The aim is to change as little as possible while making the chimney sound. That starts with matching materials: softer, lime-based mortar for old soft brick, salvaged or carefully chosen replacement bricks and joint profiles copied from the original work. Decorative features such as corbels, banding or clay pots are repaired or rebuilt to the same pattern rather than simplified. Modern parts, like a stainless liner or a top-sealing damper, can usually be added without changing what you see from the street. Ask for photos of earlier chimney masonry restoration projects on homes of a similar age.

Tuckpointing is done joint by joint, and we start by testing a few to see how deep the damage goes and what mortar the chimney was built with. Older chimneys often have softer, lime-rich mortar, and a much harder modern mix next to it can crack the bricks over time. After grinding failed joints back to sound material and rinsing out the dust, we pack new mortar in thin lifts and strike it to match the existing joint profile. For color, we compare dried samples against the old joints rather than guessing. The chimney is kept out of hard rain while the new mortar sets.
We run repairs in a set order: confirm, protect, fix, test, explain. Confirming means checking the chimney ourselves rather than relying only on the phone description, because the cause of a leak or a stuck part is not always where it seems. Protecting covers drop cloths inside and care around shrubs and shingles outside. The repair itself depends on the part involved. Testing might mean running water over new flashing, cycling a damper several times or checking draft with a little smoke. We finish by walking you through what we did and showing photos of areas you cannot see from the ground.
It should at least include an inspection of it, and often repairs. A chimney can look perfect from the street while its flue tiles are cracked or its smoke chamber is rough and crumbling. A complete restoration looks at the liner, the damper, the smoke chamber and the firebox as well as the exterior. If the flue needs relining or the damper needs replacing, those items are added to the plan. Doing interior and exterior work together avoids reopening the project later. When comparing quotes for “chimney restoration”, check whether the inside of the chimney is included or left out.
We suggest once a year for most chimneys, with extra visits after anything unusual. A yearly look from the roof and up the flue shows us how earlier repairs are holding and whether anything new has appeared. Events that justify an extra check include a strong windstorm, hail, a lightning strike nearby, a roofer working around the chimney and any time an appliance is added or swapped. A chimney you never use is not exempt; some of the worst weather damage we find is on chimneys nobody has looked at in years, simply because no one noticed the warning signs inside.

Tenants rely on things working, and owners want clear records. We coordinate access, keep the visit short where we can and send a plain summary afterward. Request chimney masonry restoration for your property and tell us how to reach the occupants.
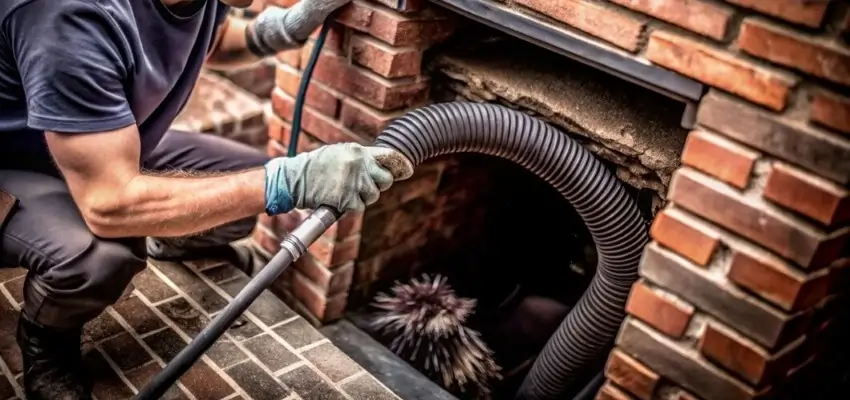
Chimney Cleaning that lifts soot and creosote in West Vancouver
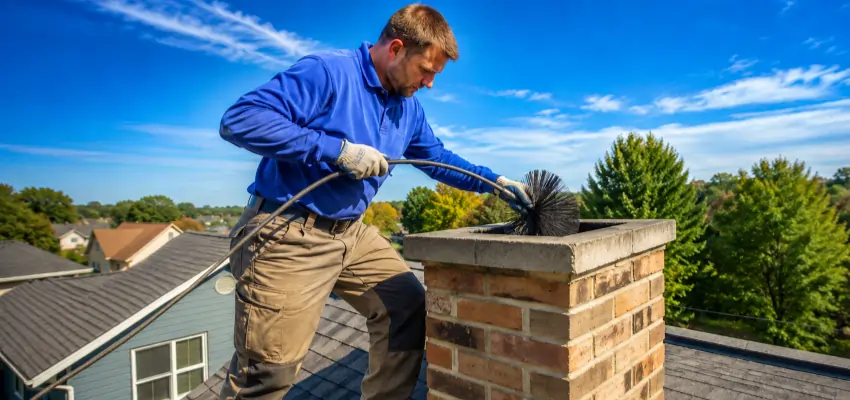
Why West Vancouver homeowners book Chimney Sweep visits yearly
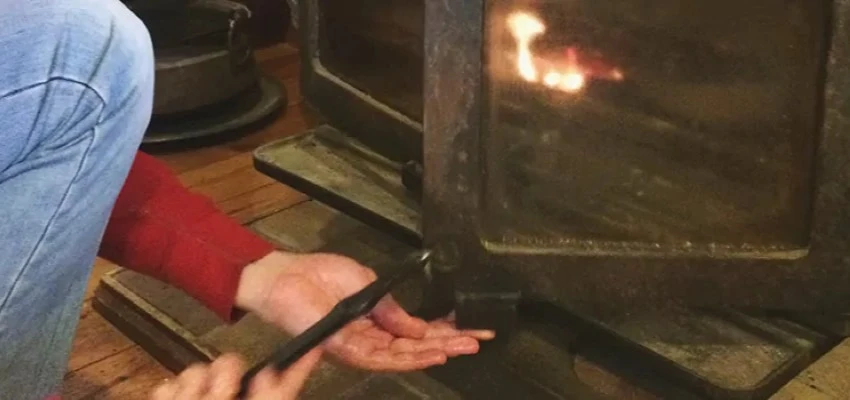
Swept and checked: Chimney Sweep Services in West Vancouver
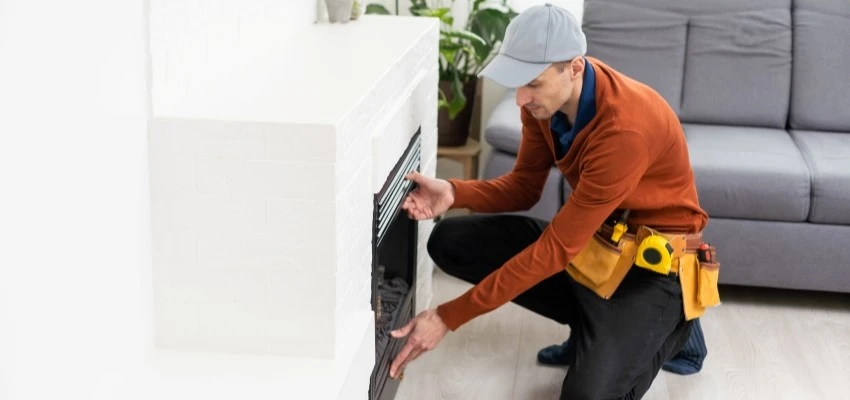
Ready for the season with Fireplace Experts in West Vancouver
Control area vacuumed during Gas Fireplace Cleaning
Catch a weak thermocouple early with Gas Fireplace Maintenance

