Lint is sneaky. The screen catches most of it, yet a fine layer still slips through and settles along the inside of the duct, at every bend and around the outside hood. Over months, that layer adds up to a real restriction. If you found this page by looking up “dryer lint cleaning”, here is what households in West Vancouver usually want to know about dryer lint cleaning, explained clearly and without exaggeration or scare tactics.
Rigid metal is the safer pick, and in the field the duct material also tells us a lot about how a vent has been treated. Rigid aluminum or galvanized pipe with taped joints usually comes out with a light, even film of lint. Accordion foil tells a different story: lint packs into every fold, low spots sag and hold moisture, and the hose is often squashed flat against the wall. For the short link behind the dryer, a semi-rigid metal transition is a reasonable compromise because it bends without collapsing. For the run through walls and ceilings, we prefer solid metal pipe wherever the layout allows it.
No, and plenty of homeowners in West Vancouver who clean the screen religiously are surprised by what comes out of the duct. The screen is a filter with fairly large openings, so it stops the visible fluff while the finest particles travel on with the air. Those particles stick wherever the airflow slows, especially at elbows and at the exterior hood. Damp lint is heavier and clings even more. A spotless screen tells you the first stage is working; it says nothing about the length of pipe beyond it, which needs its own cleaning on a regular schedule.
A bird nest in a dryer vent should be removed before the dryer is used again, because twigs and grass block airflow and catch lint quickly. Signs include chirping or scratching near the outside hood, nesting material poking out of the opening and a flap that stays open. Avoid reaching into the vent yourself, especially if birds are still inside. A technician can clear the nest, clean the duct behind it and fit a hood designed to keep birds out while still letting lint pass. Nesting season in spring is when this happens most often.
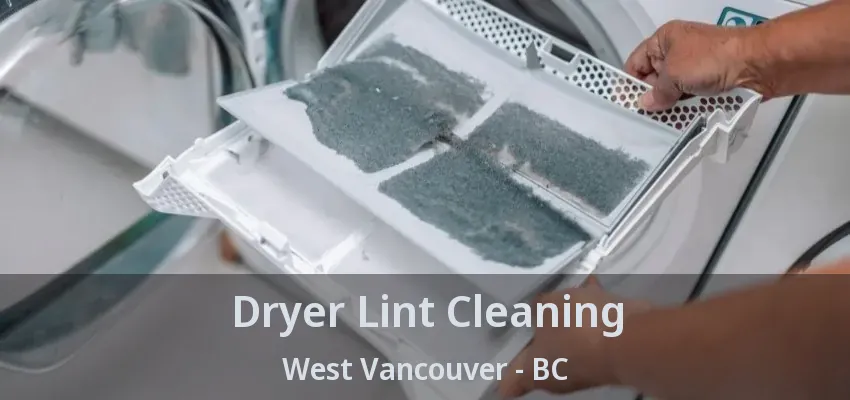
A thin, even layer after each load is normal, and a thicker mat after towels or bedding is expected too. What is not normal is finding almost nothing on the screen after a full load of towels, because it can mean lint is slipping around a damaged screen or the dryer is not moving enough air to carry it there. Lint collecting on the floor around the dryer, inside the door seal or on the wall behind the machine is another warning. Either case is worth mentioning when you book dryer lint cleaning, since it points to where the fibers are escaping.
A humid laundry room usually means the moist air from the dryer is not making it outside. That can happen when the vent is clogged, when the connector hose has slipped off behind the machine or when the outside flap is stuck. In colder months, warm exhaust can also condense inside a long or uninsulated run, leaving droplets or damp lint in the duct. Check that the hose is attached at both ends and that the flap opens. If you see water dripping from the vent or rust stains on the duct, have the run looked at, since trapped moisture makes lint cling and can damage nearby drywall.
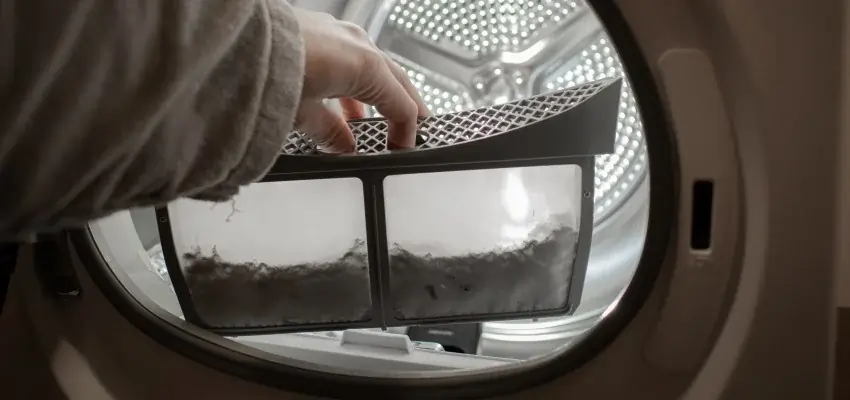
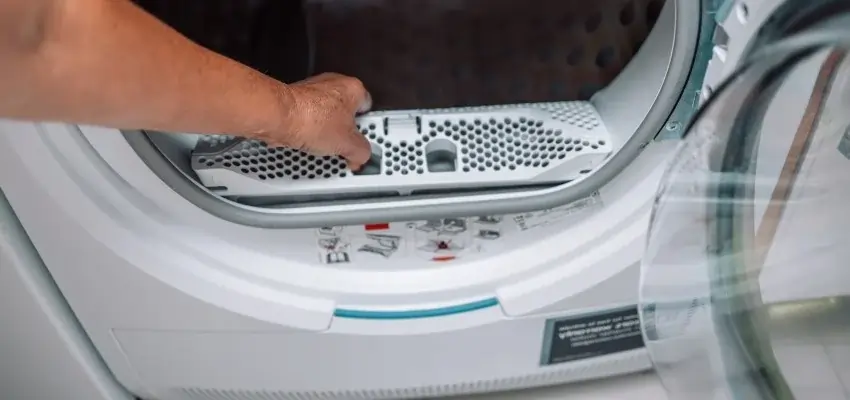
Yes, some lint builds up inside the dryer itself, mostly in the slot that holds the lint screen and in the housing just below it. You can see part of it by pulling the screen out and shining a flashlight into the opening. A long, narrow vacuum attachment or a flexible brush made for that slot will remove what is within reach. Do not take the dryer cabinet apart yourself, particularly on a gas model. If you notice lint drifting out around the door seal or the back panel, mention it when you book so the technician can check where it escapes.
Most of our dryer vent visits fit into an hour or so, and the variation comes from the vent rather than the dryer. A short wall vent with light buildup goes fairly quickly. A long ceiling run, a roof termination that needs a ladder setup or a duct packed solid takes longer, and so does any repair we agree on during the visit. We build in a few minutes at the start to look at the route and a little time at the end to test airflow and go over what we found, so you are not left guessing about the result.
Preparing for a dryer vent visit mostly means making room. Finish any laundry in progress and empty the dryer, then clear baskets, detergent bottles and anything stored on top of or beside the machine so it can be pulled out. If the laundry is in a closet, take out what is on the floor. Outside, move furniture, bins or planters away from the vent hood and unlock any gate. Let the company know about stairs, tight doorways or a vent that exits on the roof. A clear path saves time and protects your floors and walls.
A dusty laundry room usually means lint is escaping before it reaches the outside. Common reasons include a hose that has slipped off its fitting, a gap at the wall connection, a worn door seal or a torn screen. Some fluff also drifts out when you empty the screen. Wipe surfaces with a damp cloth rather than a dry duster, and check the connection behind the dryer. If the dust returns quickly, a “dryer lint cleaning” visit can find the leak and seal it, which keeps the room cleaner and sends the lint where it belongs.
Kids, pets and work schedules all matter when someone visits your home. Let us know what to work around and we will plan the appointment to match. Choose a time for dryer lint cleaning anywhere in West Vancouver.
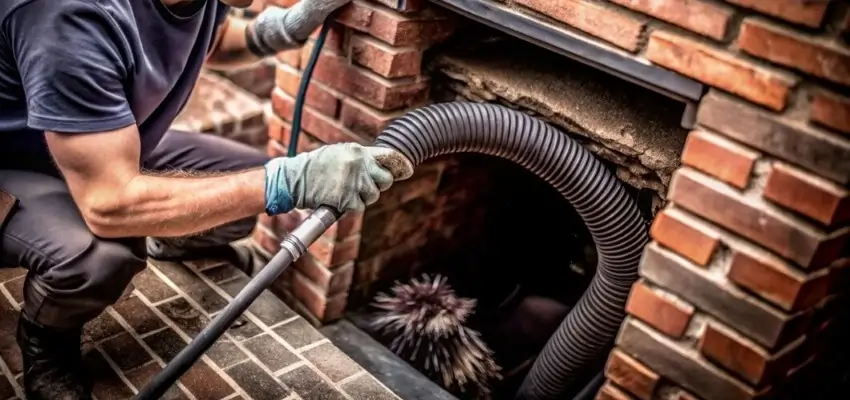
Chimney Cleaning that lifts soot and creosote in West Vancouver

Why West Vancouver homeowners book Chimney Sweep visits yearly
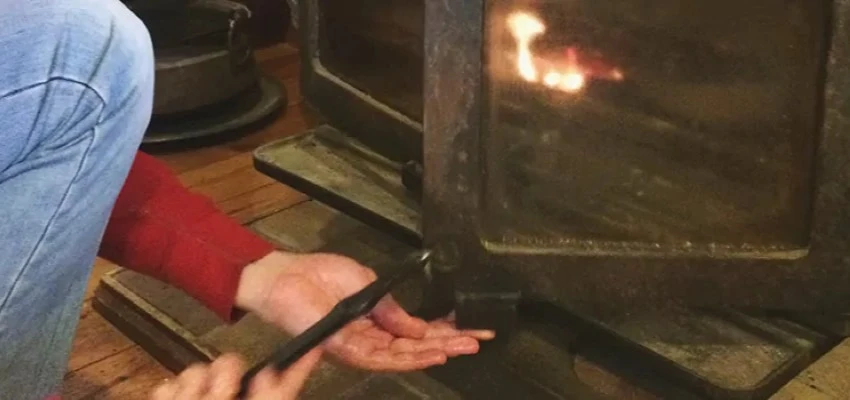
Swept and checked: Chimney Sweep Services in West Vancouver

Ready for the season with Fireplace Experts in West Vancouver
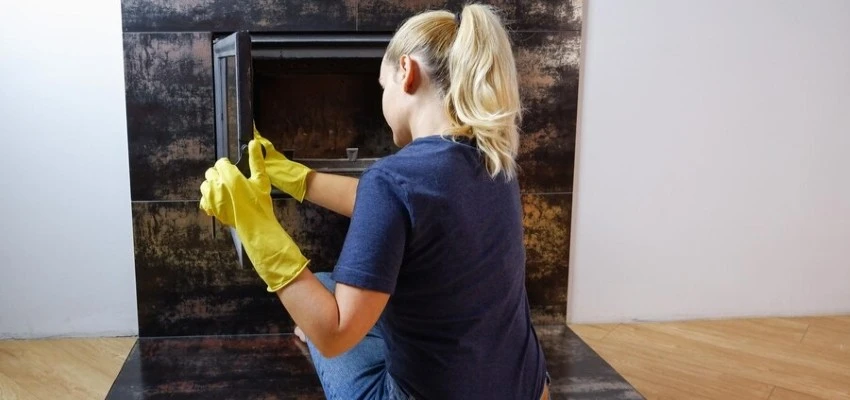
Control area vacuumed during Gas Fireplace Cleaning
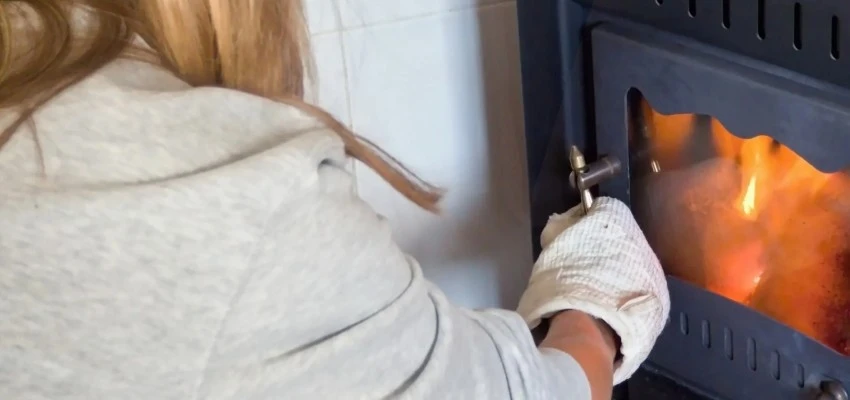
Catch a weak thermocouple early with Gas Fireplace Maintenance