Fireplace work sits where looks and safety meet. A new surround has to cope with heat, a repaired firebox has to contain fire and every change has to leave the smoke a clear path out. If “fireplace smoke chamber repair” brought you here, the following answers give homeowners in West Vancouver a grounded view of smoke chamber repair: what is involved, what can go wrong when corners are cut and how to prepare for a smooth job.
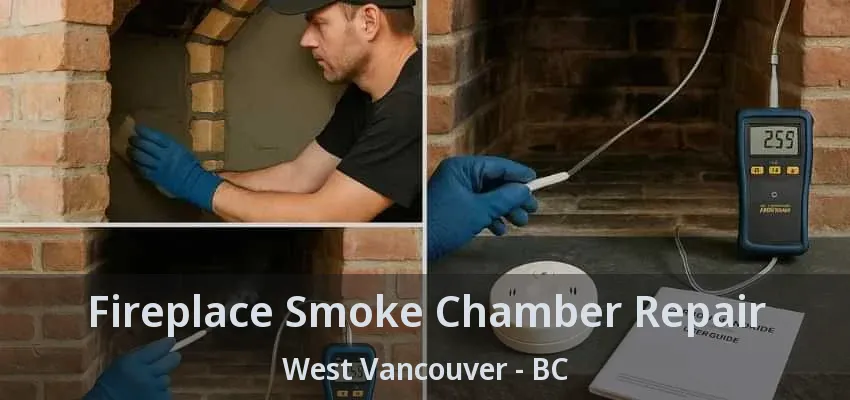
In most homes we see, yes, but the answer comes from inside the fireplace rather than its surface. A dated surround over a healthy firebox and a working damper is a good candidate for improvement. Cracked firebricks, a rough smoke chamber or a rusted damper are worth fixing in their own right, since they affect how safely the fireplace burns. Where we hesitate is when the chimney itself needs major rebuilding, because then the budget conversation changes. We look at the whole system first, explain what we find and let you weigh appearance against function.
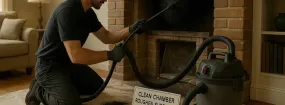
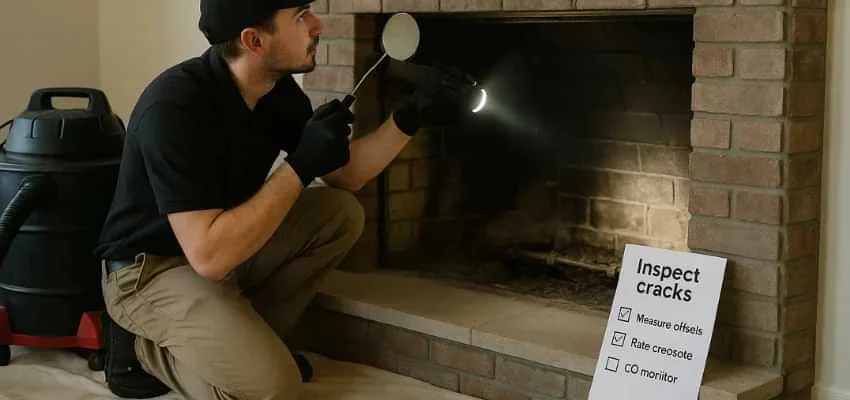
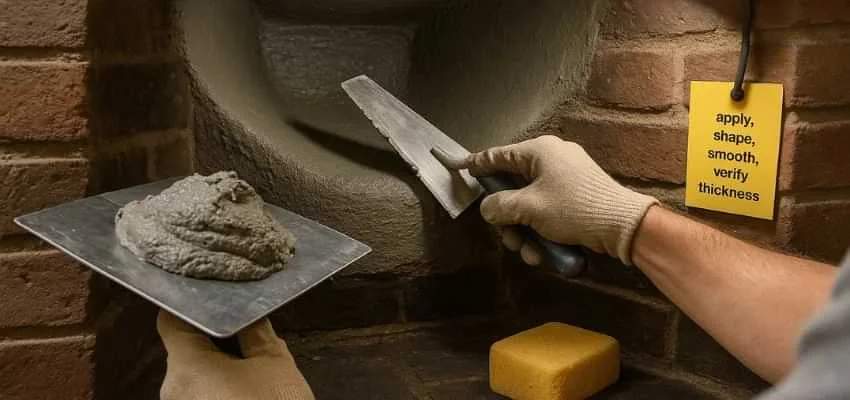
We clean first, repair second and coat last. Creosote and soot have to come off, or the new material will not bond. Loose or missing bricks in the chamber walls are reset, and open joints are filled. Then a refractory parging coat is built up until the corbelled steps disappear and the walls slope evenly toward the flue. Some systems are applied by hand, others sprayed on and smoothed; the method depends on access and the condition of the masonry. A camera pass before and after lets you see the difference, which would otherwise stay hidden above the damper.
No, they treat different sections. The smoke chamber sits between the damper and the flue, while a chimney liner runs up the flue itself to the top of the chimney. A cracked flue tile or an unlined flue calls for relining; rough or eroded chamber walls call for parging or rebuilding the chamber. Some homes need both, and doing them together saves a second setup. An inspection with a camera shows which parts are affected. When you request smoke chamber repair quotes, check that each one says clearly which section is included, so you are comparing the same work.
Most smoke chamber repairs are completed in a day, sometimes a little longer if bricks must be reset or the chamber rebuilt before parging. The chimney is usually swept first, which can happen the same visit or on an earlier one. After the coating goes on, it needs curing time before the fireplace is used, and the contractor should give you a date for the first small fire. Weather can matter if part of the work happens from the roof. Ask for the timeline in writing when you book after searching for “fireplace smoke chamber repair”, including any waiting time for materials.
Small repairs, such as replacing a few firebricks or fixing a damper, often take a single visit, while refacing, mantel work or a conversion can take several working days spread over a week or two. Masonry and mortar need time to cure before the fireplace is used, and some finishes must set before the next layer goes on. Ordering stone, tile, a mantel or a gas insert can add weeks before work starts. Ask for a schedule that shows working days, waiting time for curing or materials and the earliest date you can light a fire again.
The ideal start is an empty room around a cold fireplace. We need space to set up dust protection, a route for heavy materials such as stone or a mantel and somewhere to mix or cut outside. Take down pictures or a TV mounted above the opening, since vibration from chipping can loosen them. Let us know about alarms, pets and parking. If a gas line is involved, the gas technician may need access to the meter or the basement. Final finish choices, like grout color or stain, should be settled before day one so the job does not stall.
It depends on where you live and what the work involves. Purely cosmetic changes, such as painting brick or swapping a mantel shelf, often need no permit, while gas line work, installing a new insert or fireplace, changes to the chimney or structural masonry frequently do. Rules differ from one municipality to the next, so check with your local building department or ask the contractor to confirm. A professional company should know the local requirements and tell you whether it will arrange the permit and inspection or whether that falls to you. Get that answer in writing before work begins.
Keep up the basics: have the chimney and fireplace inspected once a year and swept when needed, burn only dry, seasoned wood and keep the damper closed when the fireplace is not in use, unless it serves gas logs that need it open. Clean new stone or tile with products suited to the material, since harsh cleaners can stain or etch them. Avoid hanging heavy items from a new mantel unless it was built for that load. Check the firebox walls now and then for new cracks. A small problem caught early, like a single loose firebrick, is a quick fix rather than a project.
We give every customer a first-fire date, and it is set by the slowest-curing material in the job. Fresh mortar and refractory products hold water, and heating them too fast turns that water to steam inside the joint, which can crack it before it has hardened. So after firebox, throat or smoke chamber work, we recommend a few small fires before a full one. Tile and stone surrounds have their own adhesive cure times. Gas units are lit and tested on installation day, then left ready to use. Call us if anything looks or smells unusual during those first fires.
The systems that keep a home comfortable tend to work quietly in the background until something goes wrong. A planned visit is a calm way to keep your fireplace in good shape. Request a quote from the Chimney Sweep West Vancouver team in West Vancouver.
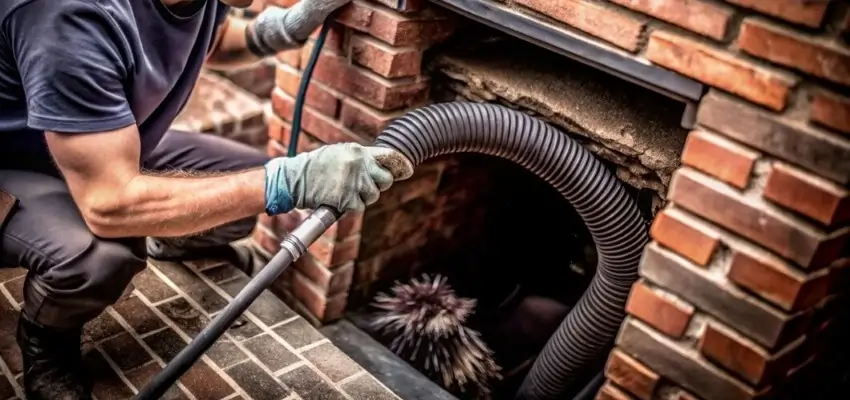
Chimney Cleaning that lifts soot and creosote in West Vancouver
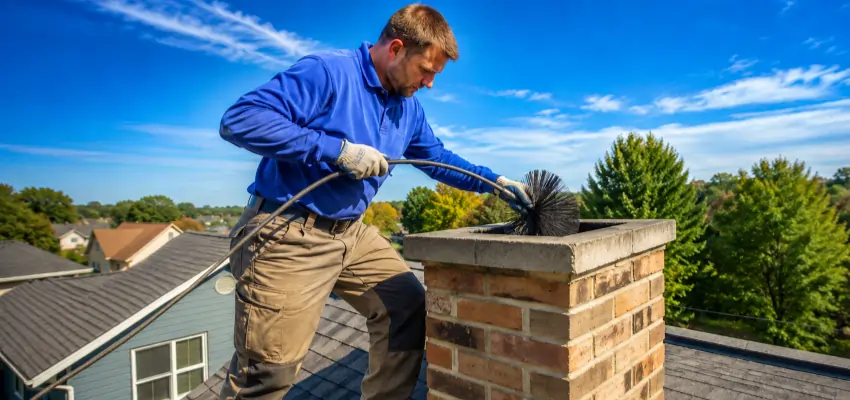
Why West Vancouver homeowners book Chimney Sweep visits yearly
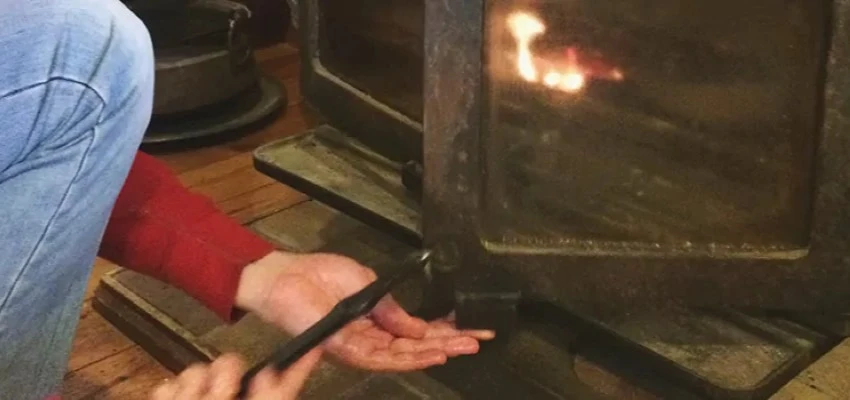
Swept and checked: Chimney Sweep Services in West Vancouver
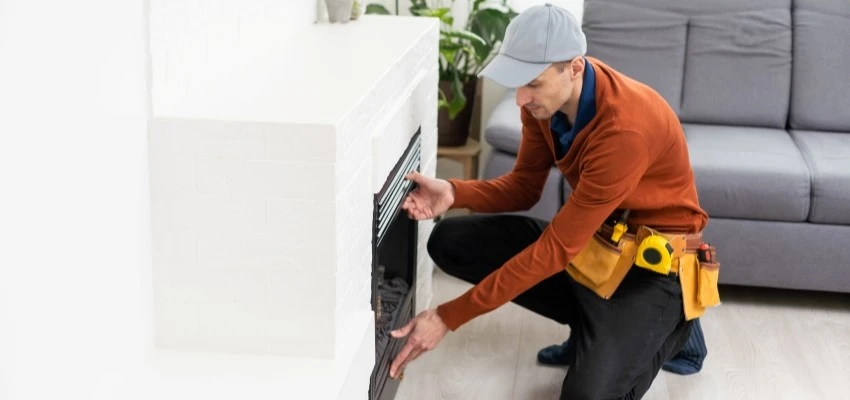
Ready for the season with Fireplace Experts in West Vancouver
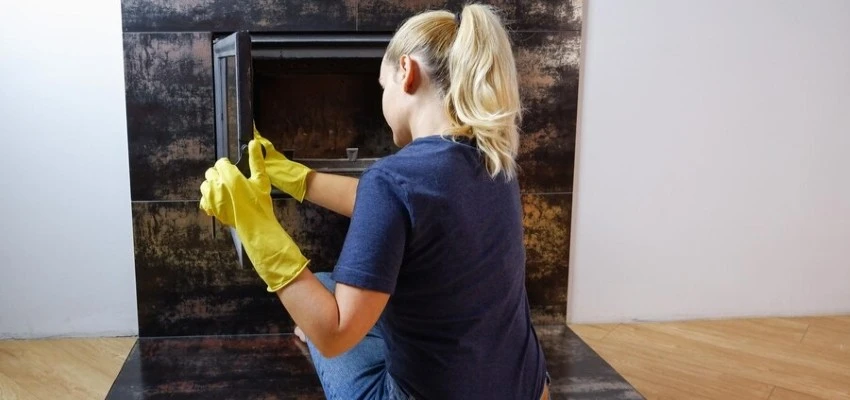
Control area vacuumed during Gas Fireplace Cleaning
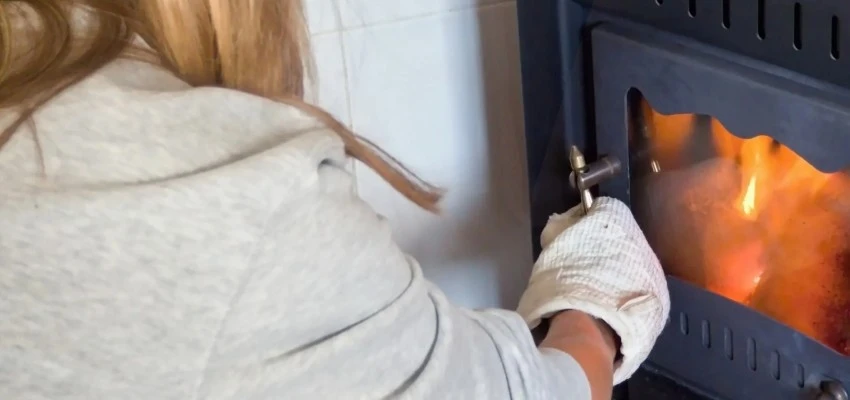
Catch a weak thermocouple early with Gas Fireplace Maintenance